As a rule, I don’t help family and friends with their computer needs! That said, I make two and ONLY two exceptions to that rule, one of which is my Mom. A couple of weeks ago, she called me complaining that her laptop was randomly powering-down. I went over to have a look and decided the first thing to do was run a backup. A few minutes into the backup – BAM – no power … her laptop was “dead”. I made another three or four attempts to backup her data but each time the computer would loose power. She was already talking about buying a new computer and since the existing machine was about four years old, I agreed that new was a prudent choice.
When I asked how long it had been since she last backed up she told me it had been more than a year – YIKES!!! With hundreds of photos, email, documents and music at risk, I needed to find a way to save her data. My first thought was to remove her hard-disk and connect it to another computer via USB and just copy the data off. The problem with this idea was how to connect the drive! I recalled having a number of older USB drives in my hacking stash”. I decided that I would disassemble one of them and use its SATA-USB controller to connect the drive to the new laptop and simply copy the data to her new machine.
The drive I selected was a “Western Digital My Passport Elite 320GB”. This drive was perfect because the SATA-USB controller didn’t require any type of external power as it takes power from the USB connection to power itself and the drive. This would make it really easy to hook up for this temporary assignment. Now that I had my drive selected, I needed to take it apart. This is where things get tricky.
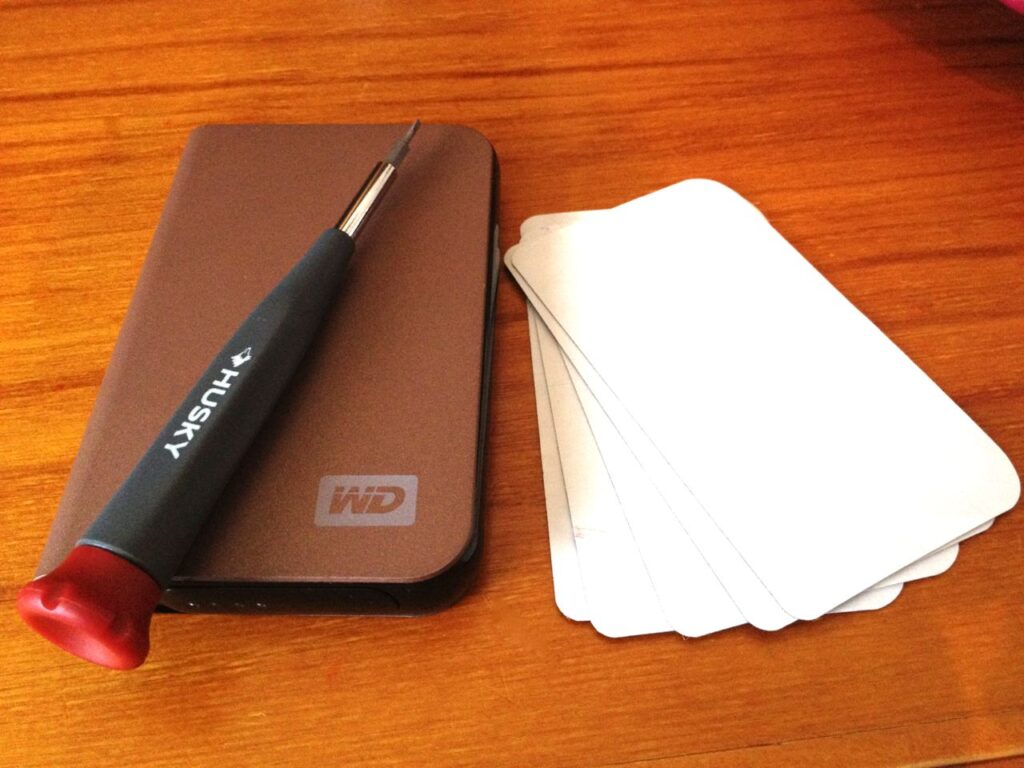
To remove the SATA-USB controller you’ll need a screwdriver and something you can use to wedge into the case as you slowly work your way around the unit prying the edges apart. I used a stack of vinyl stickers but business cards, old hotel room keys or something similar would work.
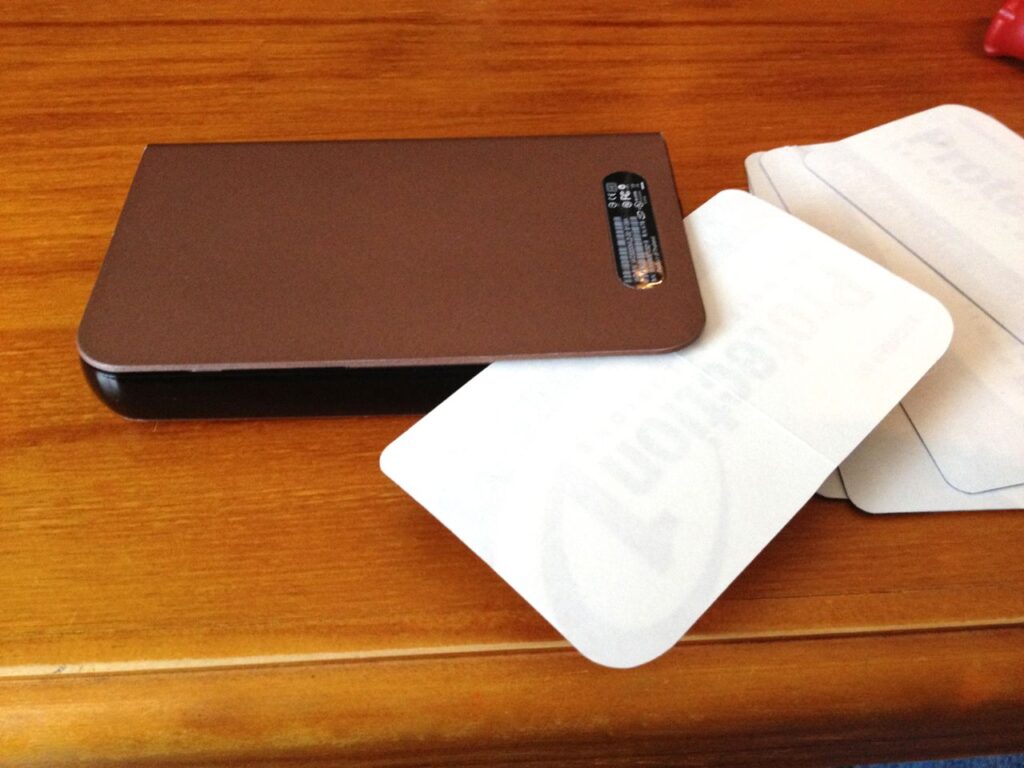
Use a screwdriver to slowly and carefully pry the edge open. There are a lot of snap-connectors that hold the unit together. Be very careful, or the case will break! Once you manage to get it open, slip in a card to hold the unit apart.
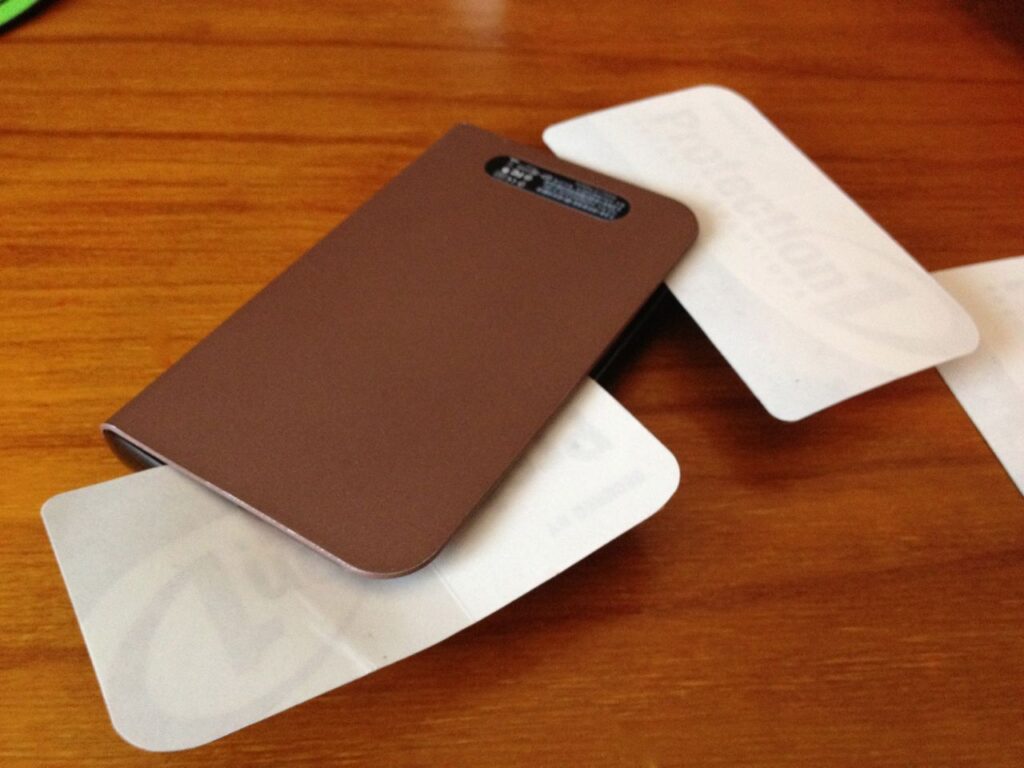
Continue working around the unit VERY slowly and methodically. In order to remove the drive and controller assembly, you’ll have to pull the case apart on both the front and back sides.
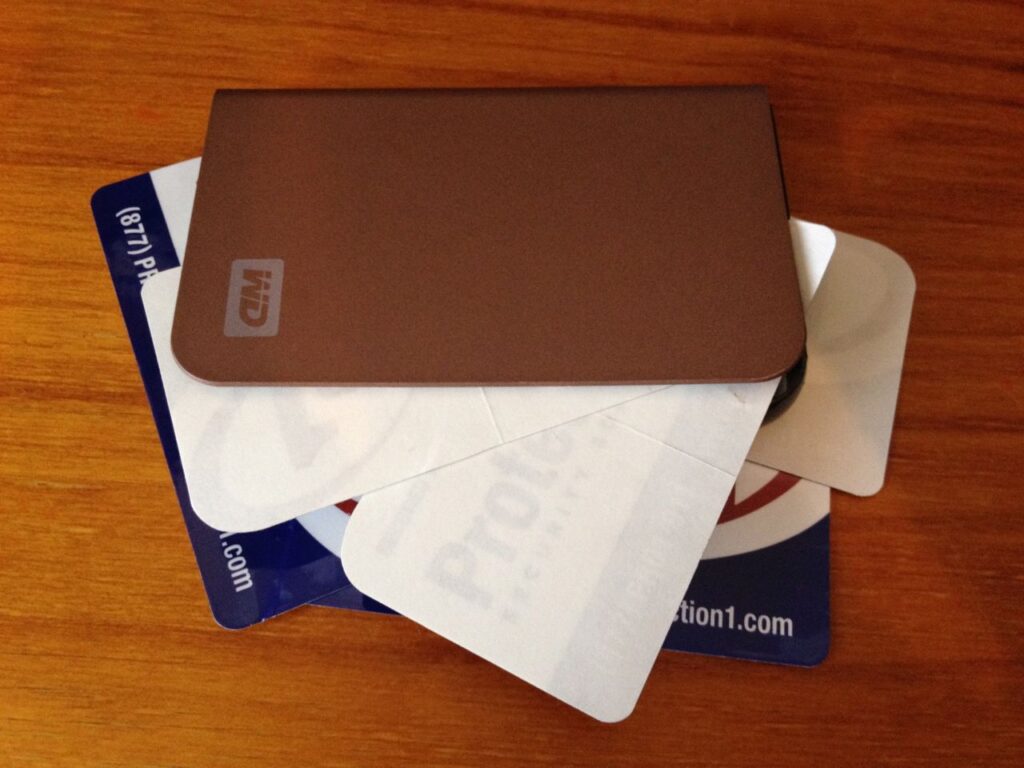
When you’ve managed to get around both sides of the case, it should look something like this.
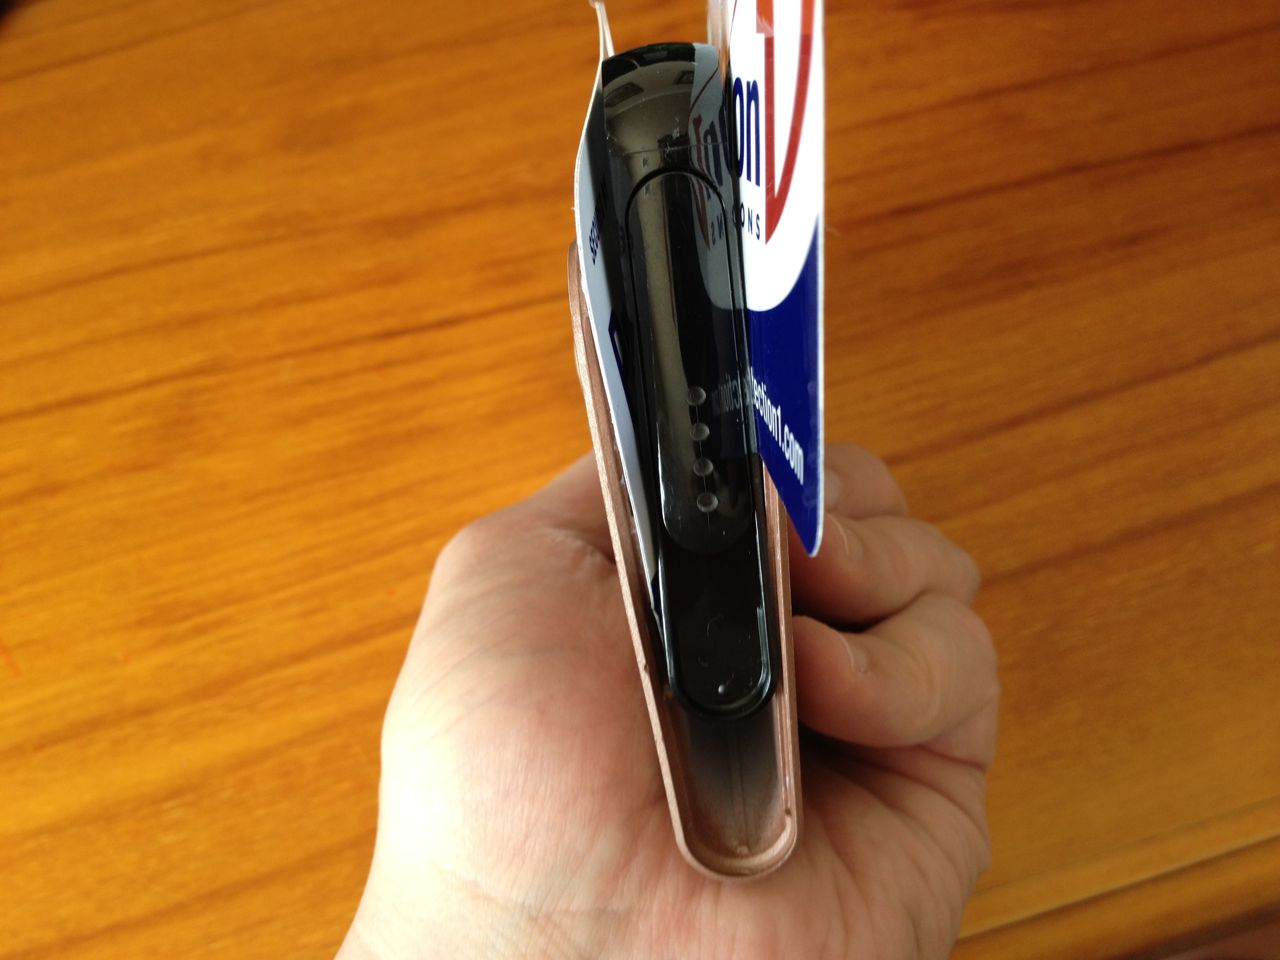
Now slip the center drive assembly out of the case.
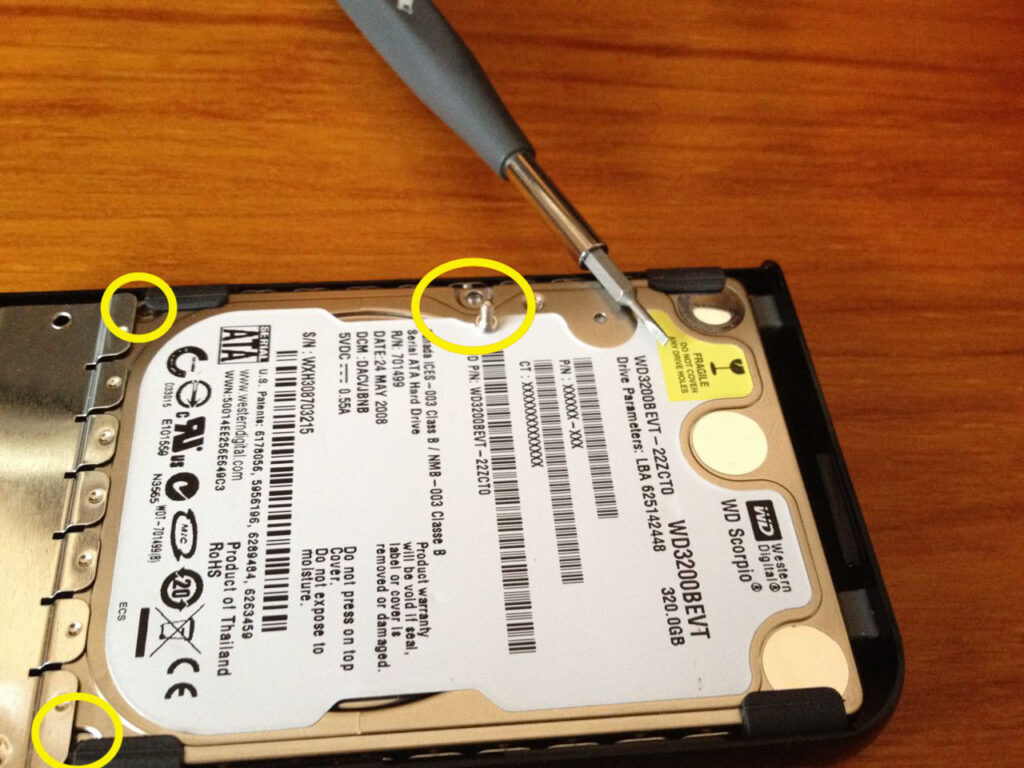
Before we can remove the drive and access the controller there are three screws that have to be removed. Mine had a specialized star head that I didn’t have a bit for. To get around this I used a small flat-head bit that I could seat into the screw-head instead.
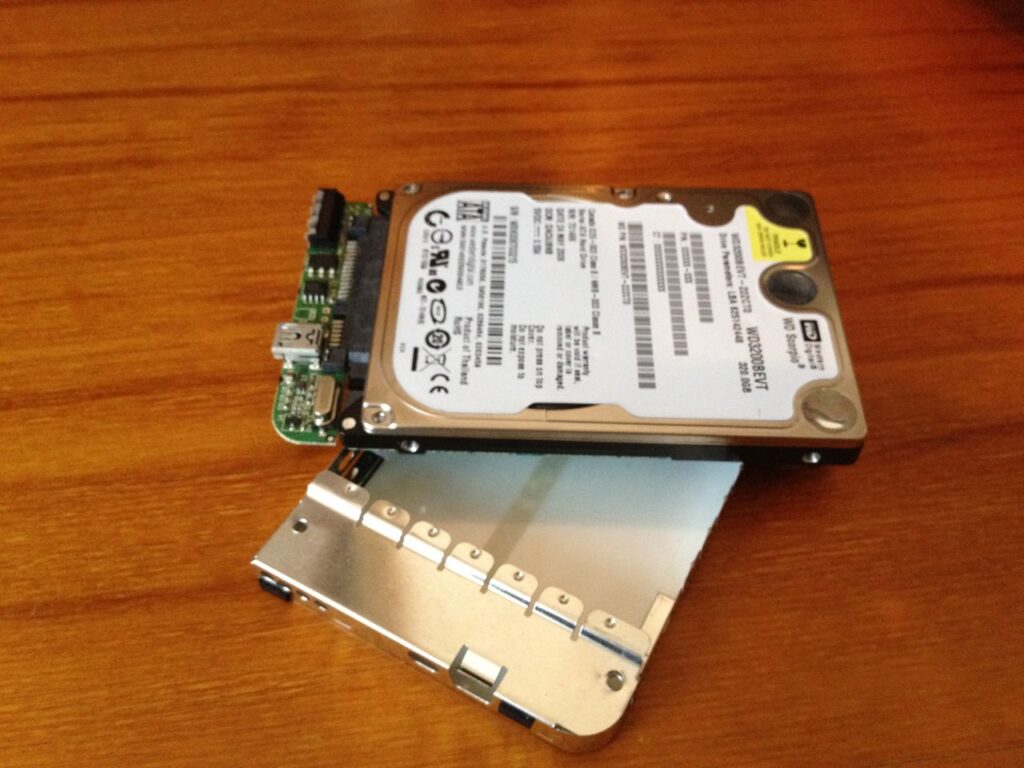
Now slide the drive out of the tray. That’s the controller protruding from the end of the drive.
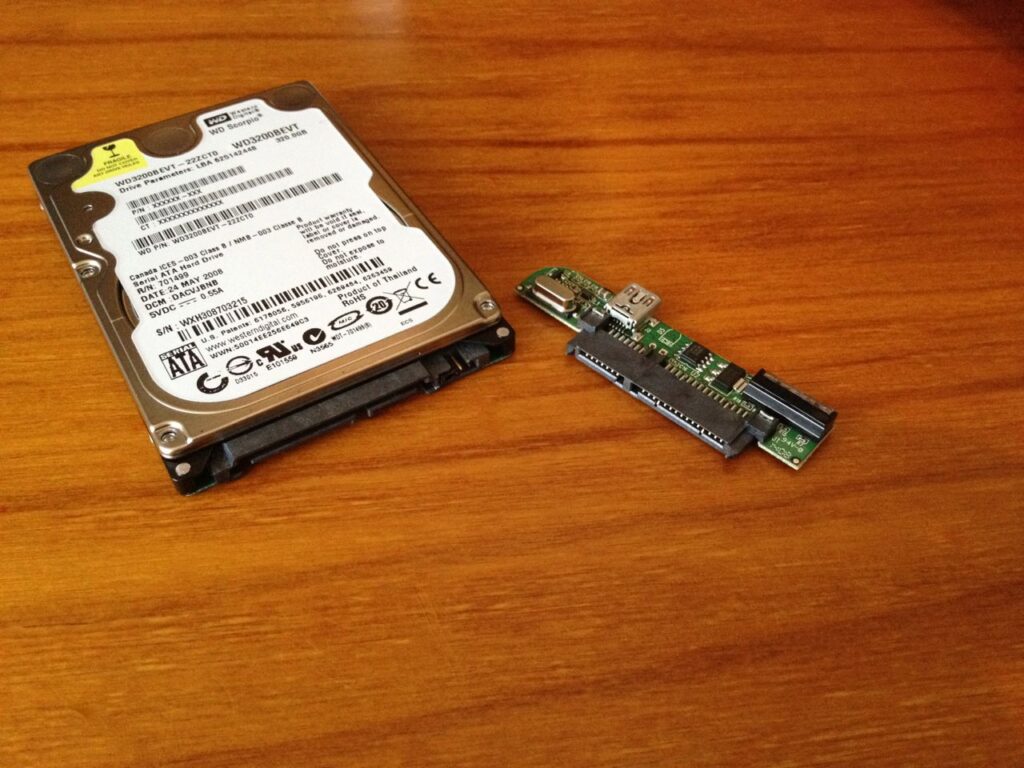
FINALLY we have access to the controller. To remove the controller from the drive, firmly grasp the drive with one hand and the controller with the other and pull the controller off of the drive.
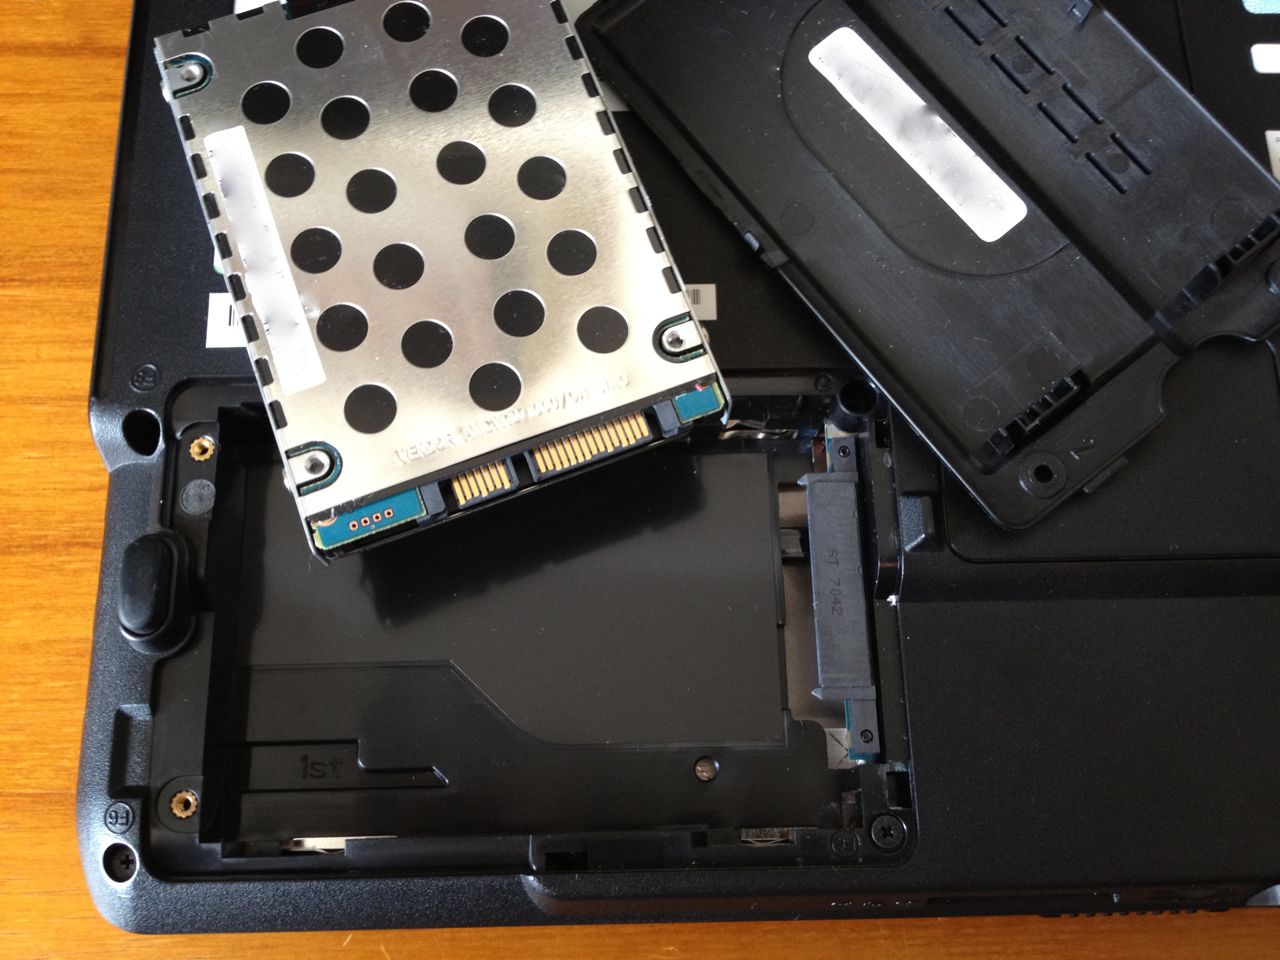
With my controller in-hand, now I need to remove the drive from the old laptop so I can install the controller and copy my data.
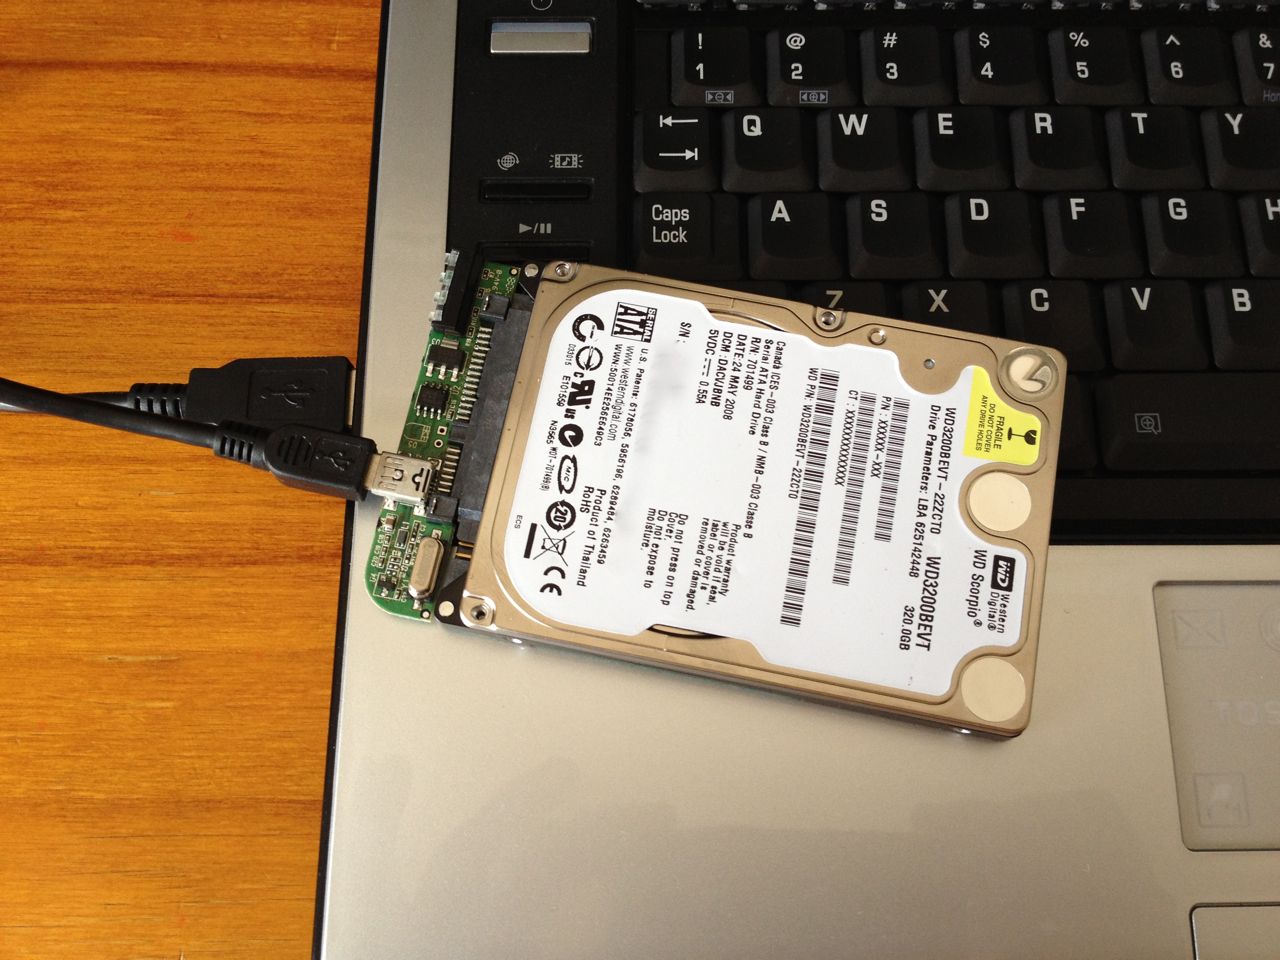
Now I connect the drive to the new laptop via USB and I can simply copy the data.
Until next time – GEEK OUT!
~GT~
